 admin
admin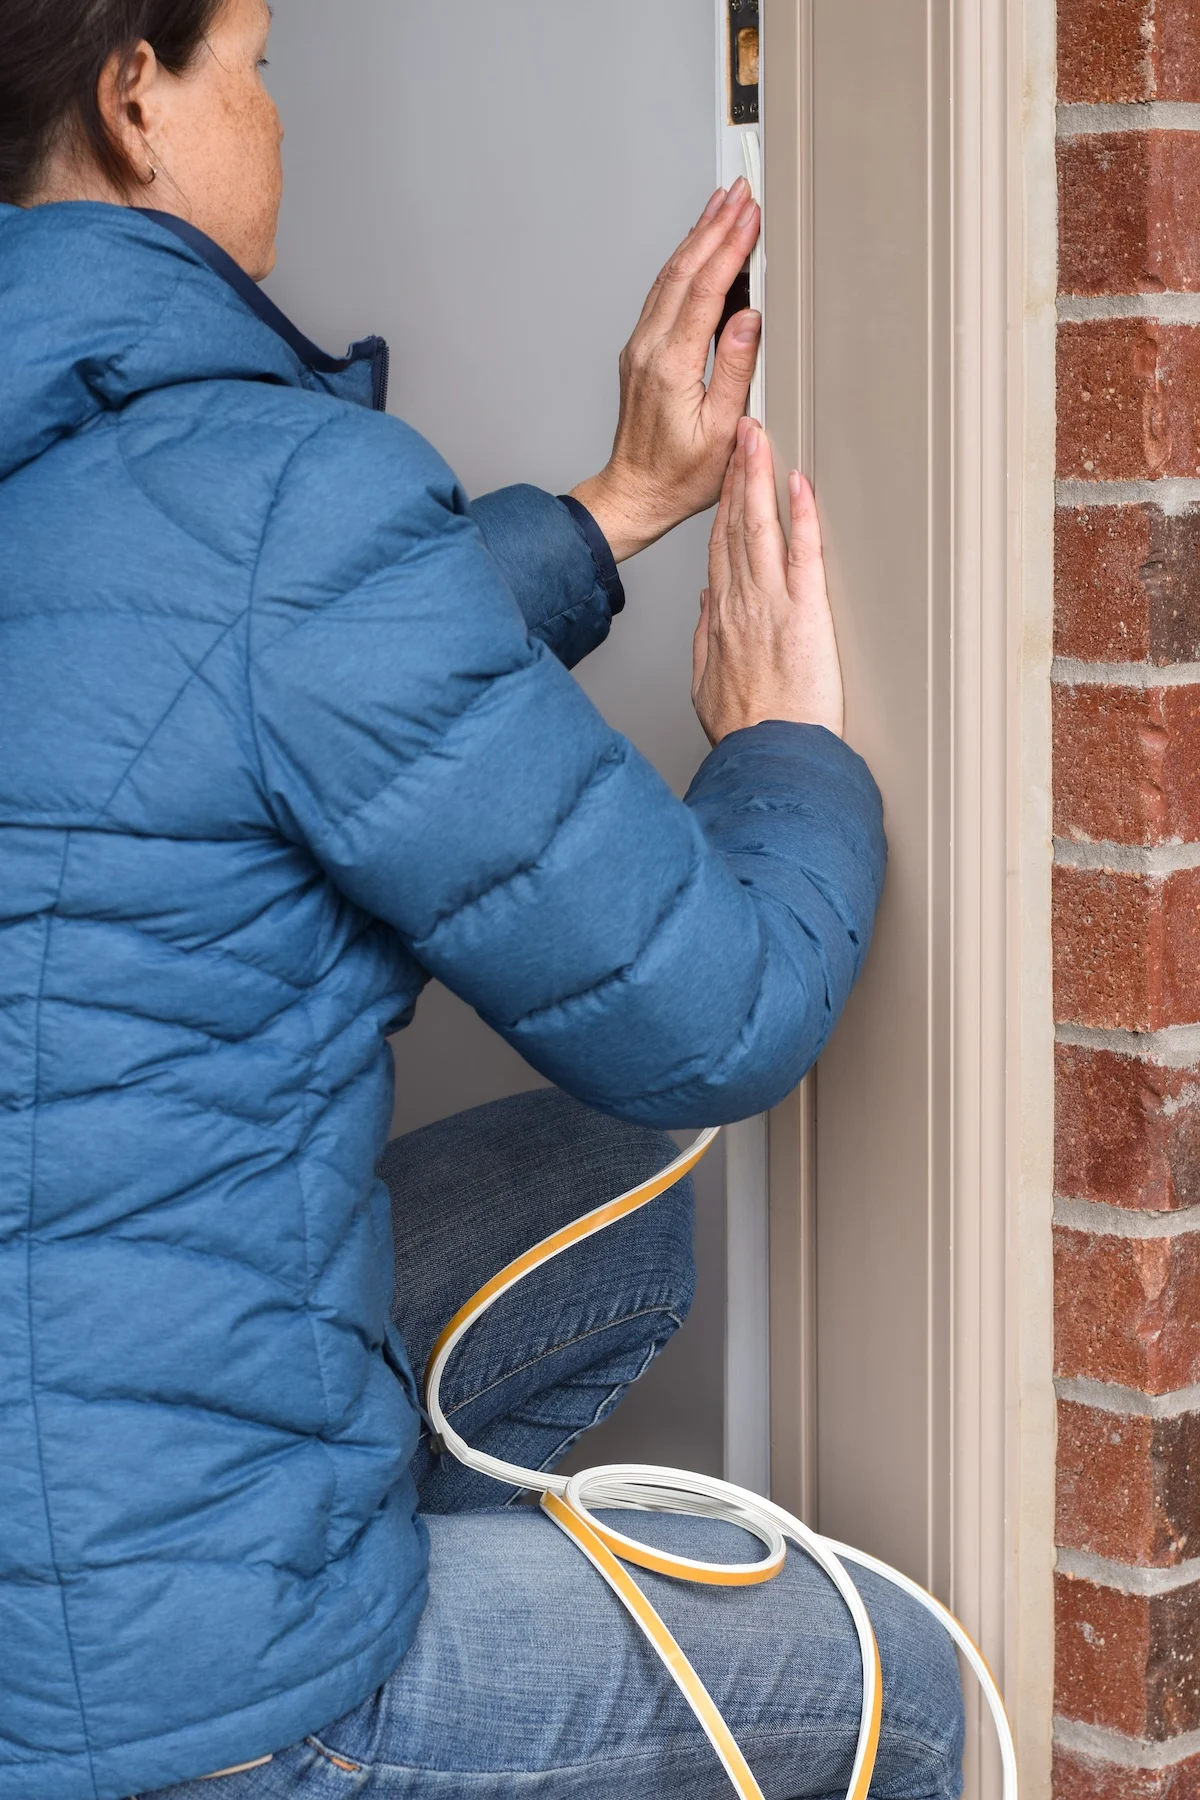
The efficiency of a home’s thermal envelope is a critical factor in both resident comfort and the economic sustainability of modern households. As winter temperatures decline across the Northern Hemisphere, homeowners often encounter the dual challenge of maintaining interior warmth while managing escalating utility expenditures. According to data from the U.S. Energy Information Administration (EIA), space heating accounts for nearly 43 percent of all energy consumption in the average American home. Despite the widespread use of high-efficiency HVAC systems, much of this energy is squandered due to structural deficiencies. Experts suggest that rather than simply increasing thermostat settings, a more effective approach involves identifying and sealing the specific points where heat escapes the building’s interior. By utilizing a combination of visual inspections, physical tests, and advanced diagnostic technology, homeowners can pinpoint hidden gaps, unsealed attics, and inadequate wall cavities that contribute to significant energy waste.
The Economic and Environmental Context of Energy Inefficiency
Residential heat loss is not merely a matter of comfort; it represents a substantial financial burden. The Department of Energy (DOE) estimates that air leakage—the unintended movement of air through gaps and cracks—can account for 25 to 40 percent of the energy used for heating and cooling in a typical home. In older structures, particularly those built before the 1970s energy crisis, insulation standards were often minimal or nonexistent. Even in newer constructions, the settling of the foundation or the degradation of building materials can create new pathways for thermal transfer.
From a macroeconomic perspective, residential energy waste contributes to increased strain on the electrical grid and higher carbon emissions. As the "building envelope"—the physical separator between the conditioned and unconditioned environment of a building—weakens, the HVAC system must work harder to maintain a set temperature. This leads to premature mechanical wear and a higher frequency of system failures during peak winter months. Addressing these issues requires a systematic diagnostic approach to identify "thermal bridges," which are areas with significantly higher heat transfer than the surrounding materials.
A Chronology for Seasonal Home Efficiency Preparation
The process of securing a home against winter heat loss should ideally follow a structured timeline, beginning in the late autumn before the first major frost.
- Late September to October: Homeowners should conduct a preliminary exterior visual inspection. This includes checking the integrity of the roof, the condition of the siding, and the seals around windows and doors.
- Early November: This is the optimal time for interior "smoke tests" and "touch tests," as the temperature differential between the inside and outside becomes pronounced enough to detect air movement.
- December and January: During peak winter, more advanced diagnostic tools such as thermal imaging cameras are most effective. This is also the period where the "snow test" on the roof becomes a viable indicator of attic insulation performance.
- Post-Winter Review: In the spring, homeowners should analyze their winter utility bills and compare them to previous years to determine the efficacy of any remedial actions taken during the season.
Diagnostic Method 1: The Systematic Visual Inspection
The most accessible method for identifying heat loss is a rigorous visual inspection. James Medina, an HVACR instructor at the Universal Technical Institute, emphasizes that many thermal leaks are visible to the naked eye if one knows where to look. The primary focus should be on "penetrations"—anywhere a pipe, wire, or vent passes through the exterior wall or ceiling.
Wooden window frames and door sills are particularly vulnerable. Over time, exposure to moisture causes wood to decay, becoming soft or spongy, which leads to structural shrinkage and the formation of gaps. Homeowners should inspect for deteriorated weatherstripping, which often becomes brittle and loses its seal after five to seven years of use. Furthermore, internal fixtures such as electrical outlets on exterior walls, recessed "can" lighting, and ceiling fans are frequent sites of air bypass. These areas often lack proper gaskets or insulation, allowing warm air to rise into the attic space through the "stack effect," where warm air escapes through the top of the house while pulling cold air in through the bottom.
Diagnostic Method 2: The Physical Touch Test and Convective Awareness
The touch test is a manual diagnostic technique that relies on the physical sensation of temperature differentials. On a day when the exterior temperature is significantly lower than the interior, homeowners are encouraged to run their heating system and move through the house, placing their hands near suspected leak points.
"As the heat escapes, the area will feel cold to the touch," Medina explains. This sensation is often caused by convection currents, where cold air infiltrating a gap creates a noticeable draft. Critical areas for the touch test include baseboards, where the wall meets the floor, and the corners of rooms where insulation may have settled or been improperly installed. Additionally, checking the temperature of the interior surface of exterior walls can reveal "voids" in the wall insulation. If a specific section of a wall feels significantly colder than others, it likely indicates a gap in the fiberglass batts or blown-in cellulose.
Diagnostic Method 3: Utilizing Smoke and Airflow Indicators
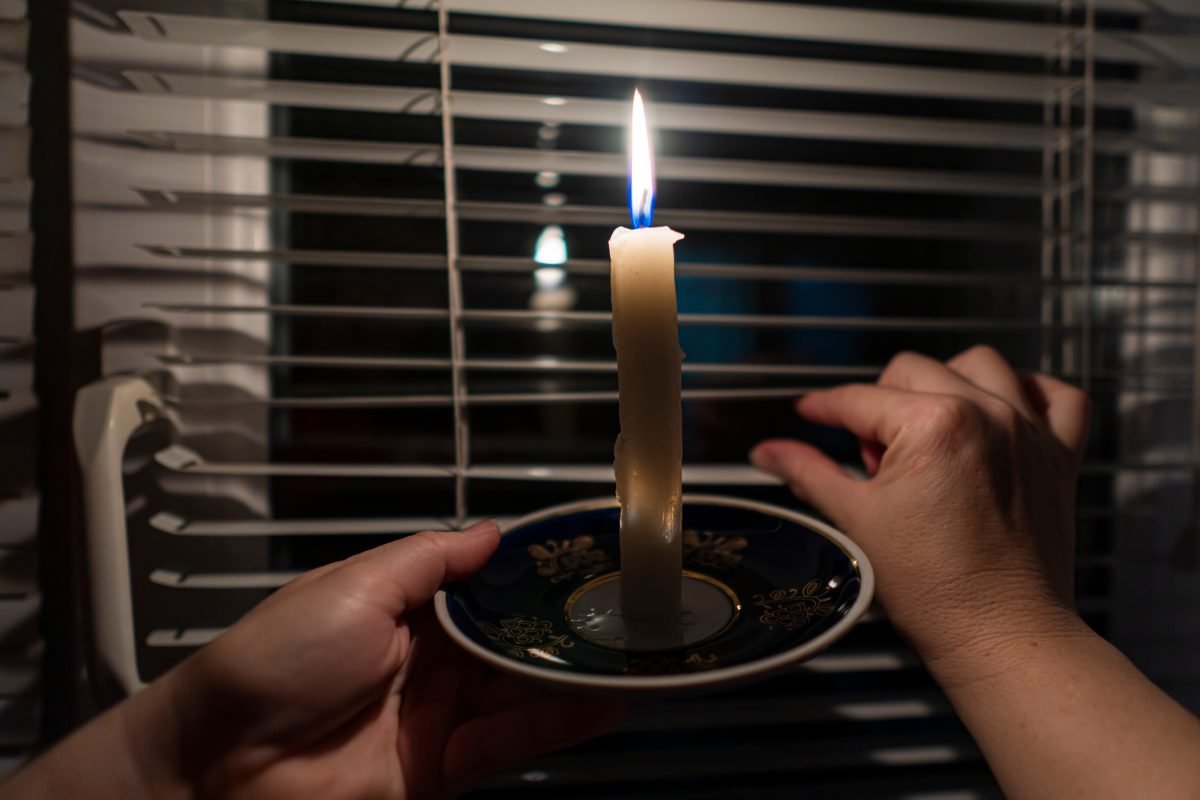
Visualizing invisible air currents is essential for locating precise leaks that a hand might miss. The smoke test involves using a controlled source of smoke—such as a lit incense stick or a specialized "smoke pen"—near the edges of closed windows, doors, and attic hatches.
By walking slowly around the perimeter of the interior that borders unconditioned spaces (like the garage or the outdoors), a homeowner can observe how the smoke behaves. If the smoke is pulled toward a crack or begins to swirl erratically, it indicates a pressure imbalance and an active air leak. This method is particularly effective for identifying leaks in the "rim joist" area of a basement or crawlspace, where the house’s wooden frame meets the concrete foundation. According to energy auditors, sealing these rim joists can often lead to a 10 to 15 percent reduction in heating costs.
Diagnostic Method 4: The Snow Test and Attic Thermal Dynamics
The exterior of the home provides clues to its internal thermal health, particularly during or after a snowfall. Kevin Bohnet, the HVAC program director at Fortis College, suggests that homeowners compare their roof’s snow accumulation to that of their neighbors.
"If your attic is not insulated well, heat will penetrate through and warm the inside of the attic, causing the frost or light snow to melt," Bohnet notes. A roof that clears of snow significantly faster than others in the neighborhood, or one that shows "tiger stripping" (where snow melts in lines following the rafters), is a definitive sign of excessive heat loss.
Beyond energy waste, this heat loss can lead to the formation of ice dams. When heat from the attic melts the bottom layer of snow on the roof, the water flows down to the cold eaves and refreezes. This creates a dam that prevents further runoff, forcing water under the shingles and into the home’s interior walls, leading to mold growth and structural rot.
Diagnostic Method 5: Advanced Infrared Thermography
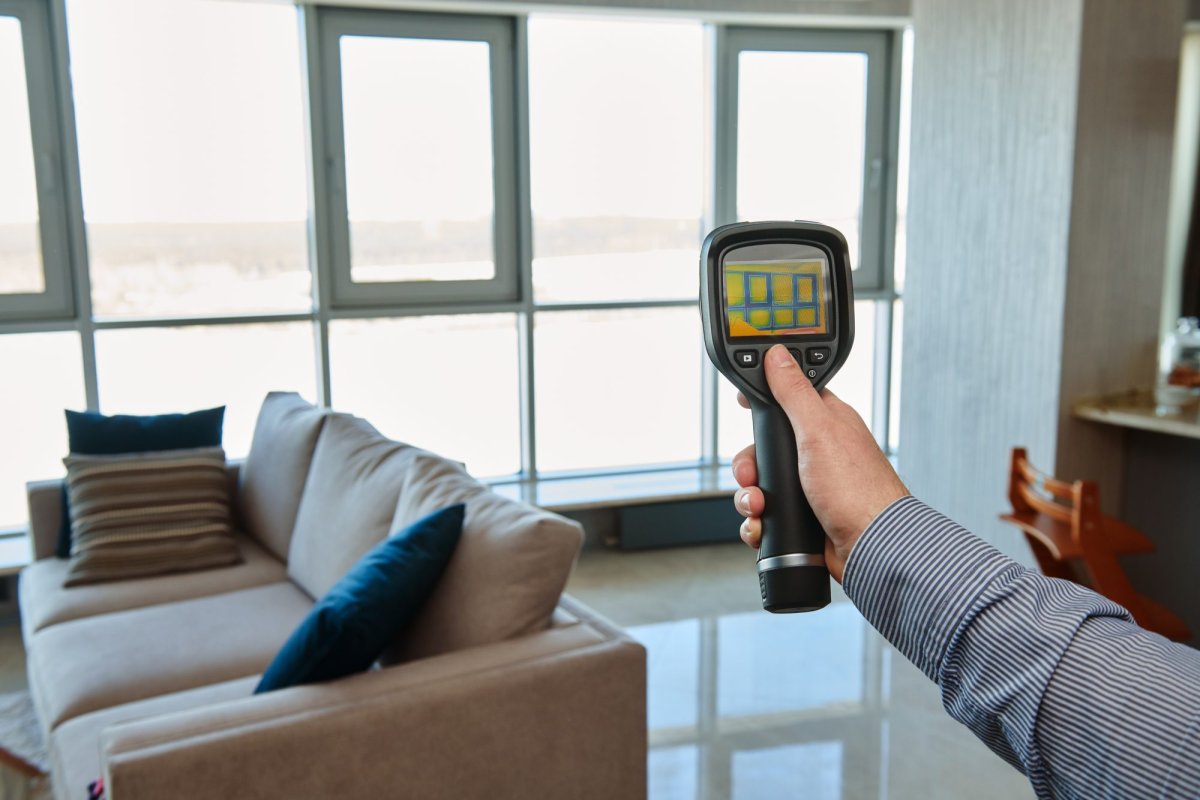
For the most accurate assessment, many professionals and proactive homeowners are turning to thermal imaging cameras. These devices detect infrared radiation—heat—and convert it into a visual map of surface temperatures. High-resolution thermal cameras, such as the TopDon TC005, can measure temperatures ranging from -4 to +1022 degrees Fahrenheit, allowing users to see exactly where cold air is infiltrating or where insulation is failing.
Thermal imaging is most effective when there is a "Delta T" (temperature difference) of at least 20 degrees between the indoors and outdoors. By scanning a room with a thermal camera, one can see "purple" or "blue" streaks indicating cold air infiltration, while "yellow" or "orange" areas indicate where the building is successfully retaining heat. This technology removes the guesswork, allowing for targeted repairs that provide the highest return on investment.
Remediation and the Importance of R-Value
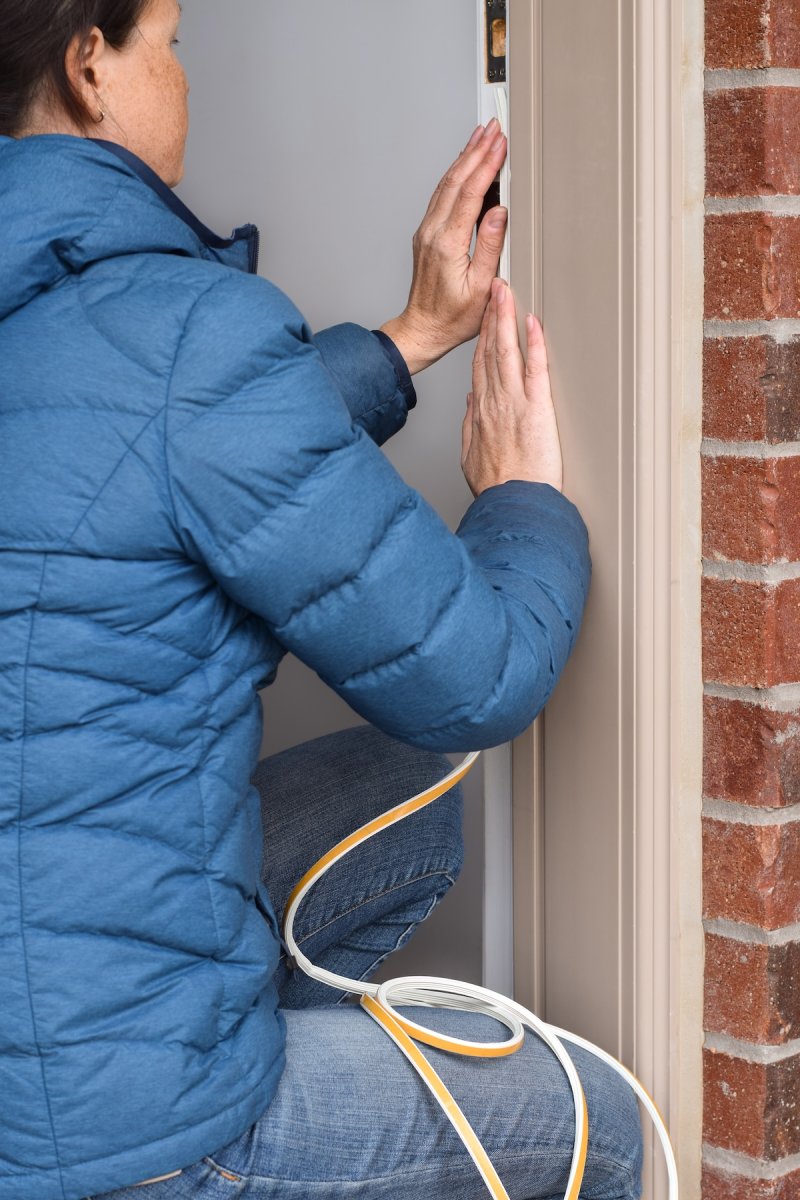
Once problem areas are identified, the focus shifts to mitigation. Experts agree that sealing air leaks should precede adding insulation. Caulking and weatherstripping are the most cost-effective "first-line" defenses. For larger gaps, such as those around plumbing stacks or in the attic floor, expanding spray foam is often recommended.
The next step is ensuring the home meets modern insulation standards, measured by "R-value." The R-value represents the material’s resistance to conductive heat flow. The higher the R-value, the greater the insulating effectiveness. For example, the Department of Energy recommends an R-value of R-49 to R-60 for attics in colder northern climates, whereas older homes may only have R-19 or less.
"One of the best and most inexpensive ways to prevent heat from escaping your home is to have your attic insulated with the proper R-value," Medina says. This barrier acts as a thermal blanket, preventing the natural tendency of heat to move from warm spaces to cold spaces.
The Broader Implications of Residential Energy Audits
For homeowners unable to resolve heat loss issues through DIY methods, professional energy audits remain the gold standard. These audits often include a "blower door test," where a powerful fan is mounted to an exterior door frame to depressurize the house. This exaggerates all existing leaks, making them easy to find with smoke or thermal cameras.
The implications of these improvements extend beyond the individual. Enhanced residential energy efficiency is a key component of national energy security and climate goals. Furthermore, under the Inflation Reduction Act in the United States, homeowners may be eligible for tax credits covering up to 30 percent of the cost of energy-efficient home improvements, including insulation and sealing. By taking a proactive, data-driven approach to heat loss, property owners can protect their structural investments, reduce their environmental footprint, and ensure a more stable financial future in an era of volatile energy prices.