 admin
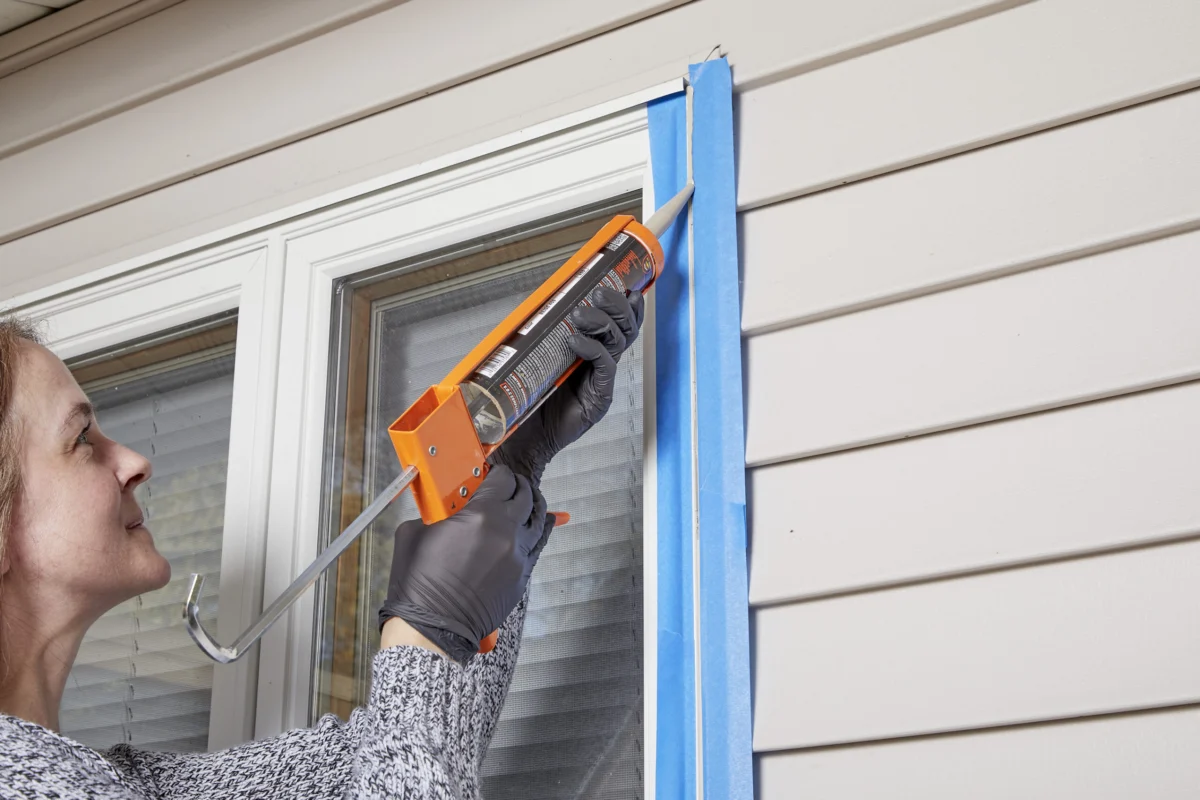
As the winter season approaches, the integrity of a home’s thermal envelope becomes a primary concern for homeowners and property managers alike. While a window seat may offer an aesthetically pleasing view of a winter landscape, it often serves as a significant source of thermal discomfort due to heat loss and air infiltration. According to the U.S. Energy Information Administration (EIA), the average American household loses approximately 25 to 30 percent of its heating and cooling energy through inefficient windows. This staggering statistic underscores the necessity of robust insulation strategies to mitigate energy waste, reduce utility costs, and enhance indoor comfort. Addressing these vulnerabilities does not always require a full window replacement; rather, a series of strategic, cost-effective interventions can yield substantial improvements in thermal performance.
The Science of Thermal Loss and Infiltration
To effectively insulate a window, one must first understand the mechanisms of heat transfer. Heat moves from warmer areas to cooler areas through three primary methods: conduction, convection, and radiation. In the context of windows, conduction occurs through the glass panes and frames; convection involves the movement of air currents near the glass surface; and radiation involves heat energy passing directly through the transparent medium. Furthermore, air infiltration—the uncontrolled entry of cold outside air through gaps and cracks—can exacerbate these losses.
The Department of Energy (DOE) emphasizes that improving the "U-factor" (the rate at which a window, door, or skylight conducts non-solar heat flow) is essential for winter preparedness. A lower U-factor indicates better insulating properties. By applying exterior and interior insulation techniques, homeowners can effectively lower the U-factor of their existing window units without the capital-intensive requirement of total sash or frame replacement.
Exterior Fortification: Addressing the Structural Perimeter
The first line of defense in window insulation lies in the exterior seal. Over time, exposure to ultraviolet (UV) radiation, fluctuating temperatures, and moisture causes building materials to contract and expand, eventually leading to the degradation of caulking. Once the exterior sealant crumbles, it creates a "thermal bridge" that allows frigid air to penetrate the wall cavity and enter the living space.
A Systematic Approach to Exterior Caulking
Industry experts recommend a clear weather window for exterior maintenance. Successful application requires at least 24 hours of dry conditions and ambient temperatures consistently above 45 degrees Fahrenheit (7 degrees Celsius) to ensure proper adhesion and curing.
- Substrate Preparation: The removal of oxidized caulk and failing paint is a critical first step. Using a high-quality putty knife or a dedicated caulk-removal tool, the technician must strip the interface between the window frame and the siding down to a clean, dry surface. Residual debris can be neutralized with a damp cloth, followed by a mandatory drying period of several hours.
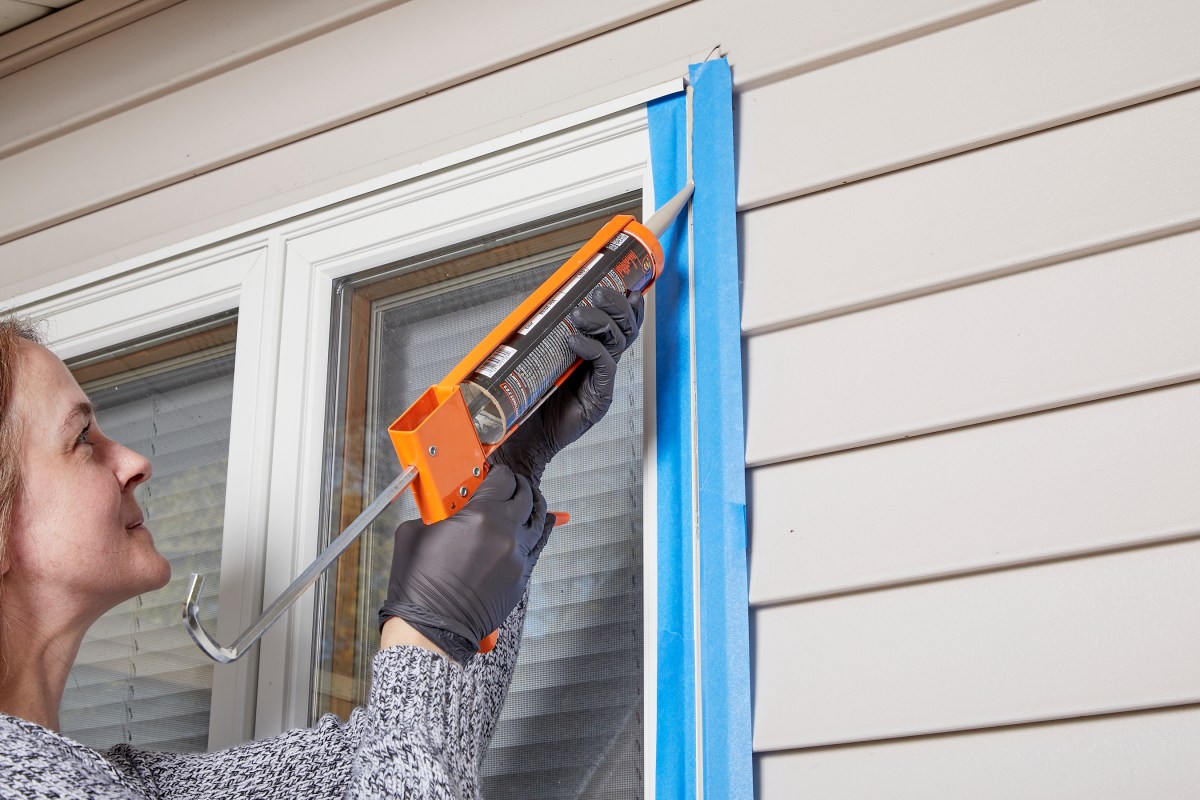
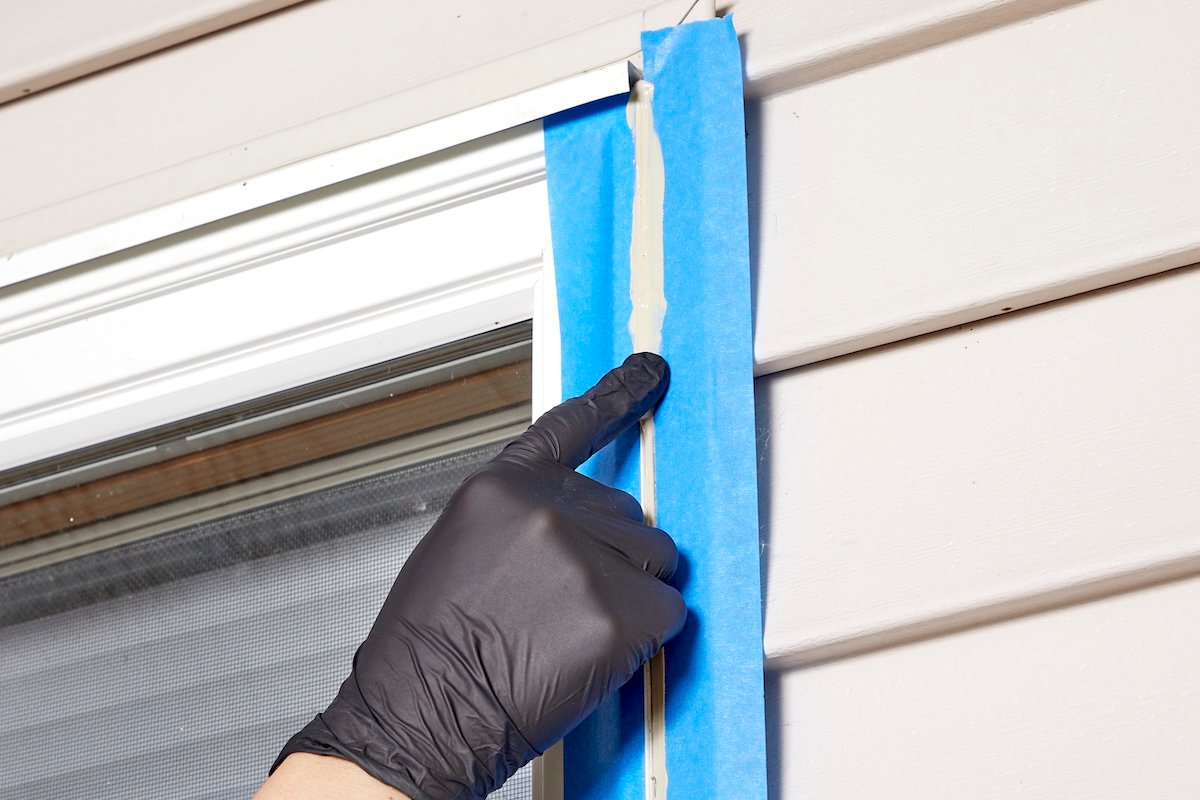
- Material Selection and Application: For exterior applications, high-grade silicone or polyurethane caulk is preferred due to its elasticity and resistance to the elements. Utilizing a no-drip caulking gun, the sealant should be applied at a 45-degree angle to ensure deep penetration into the joint. A continuous bead should be laid around the entire perimeter of the frame.
- Tooling and Curing: After application, the bead should be "tooled" or smoothed with a gloved finger or a smoothing tool to ensure a watertight seal. The curing process typically takes 24 hours, during which the seal should remain undisturbed by moisture.
Interior Precision: Managing Air Infiltration at the Sash
While the exterior seal prevents moisture and bulk air entry, the interior "sash"—the moveable part of the window—is frequently the site of significant drafts. Weatherstripping serves as the primary gasket to seal the gaps between the sash and the frame.
Evaluating Weatherstripping Materials
The choice of weatherstripping material significantly impacts the longevity and effectiveness of the insulation.
- Felt: While inexpensive and easy to install, felt is susceptible to moisture and high-friction wear, often requiring replacement every one to two years.
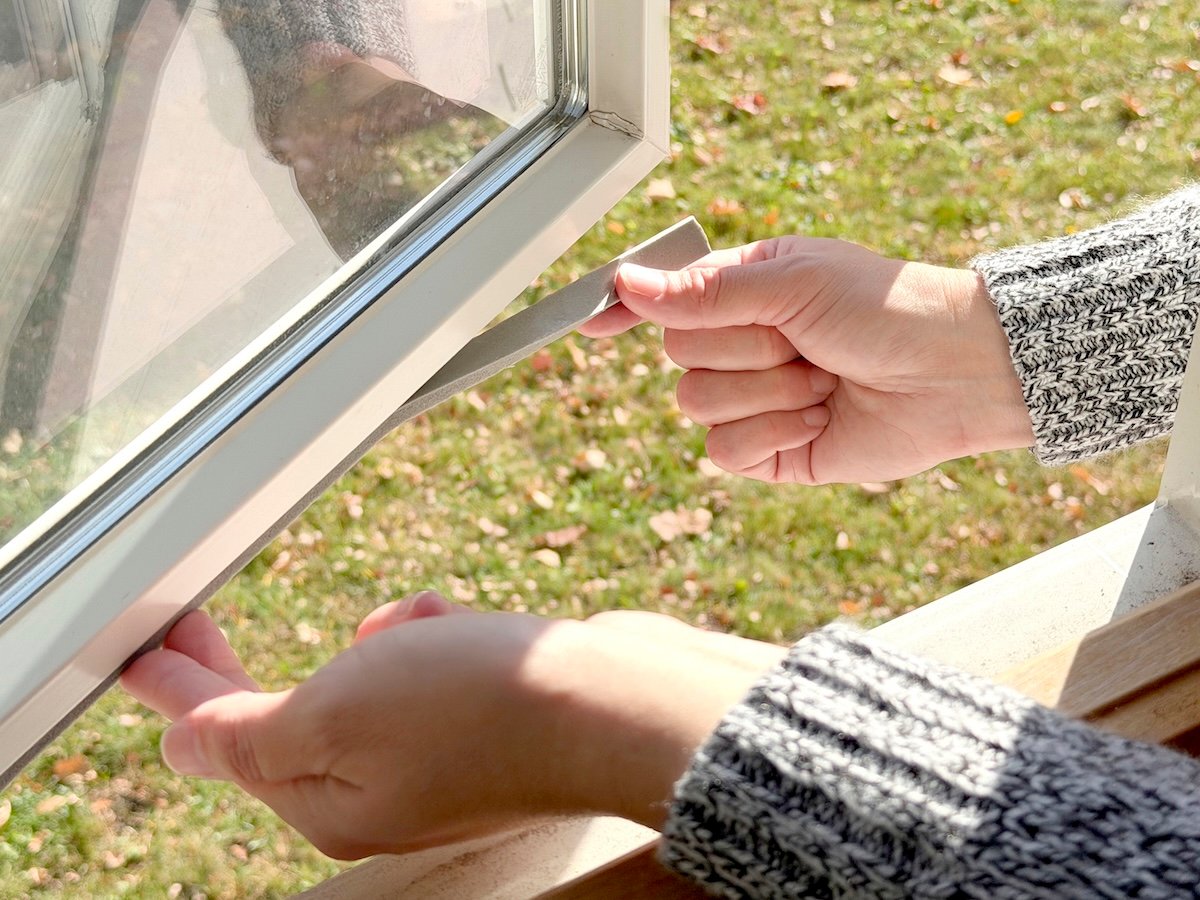
- Adhesive-backed Foam: Closed-cell foam tapes are cost-effective and provide a reliable compression seal. They are ideal for windows that are rarely opened.
- Tubular Gaskets: Often made of EPDM (ethylene propylene diene monomer) rubber or silicone, these provide a superior air seal and can withstand years of compression without losing their shape.
The Installation Process
Before applying new weatherstripping, all remnants of old adhesive or mechanical fasteners (such as nails or screws) must be removed. The surface of the sash should be cleaned with a mild detergent or isopropyl alcohol to ensure a strong bond for adhesive-backed products. Once measured and cut to size, the strips should be pressed firmly into the tracks or onto the sash edges, ensuring that the window can still operate smoothly while maintaining a tight seal when closed.
Advanced Thermal Barriers: Window Insulation Film
For windows where the glass itself is a major source of radiant heat loss, insulation film offers a high-tech solution. Modern window films are engineered to reflect interior heat back into the room during the winter while blocking solar heat gain in the summer. Data from the International Window Film Association (IWFA) suggests that quality films can improve a window’s insulating performance by up to 92 percent compared to untreated glass.
Strategic Application and Clarity
There is a distinction between professional-grade low-emissivity (Low-E) films and "shrink-wrap" kits found in hardware stores.
- Low-E Films: These are semi-permanent, transparent layers applied directly to the glass. They maintain visibility and clarity while significantly altering the thermal properties of the pane. Homeowners should verify if the application of such films voids the manufacturer’s warranty on the window unit.
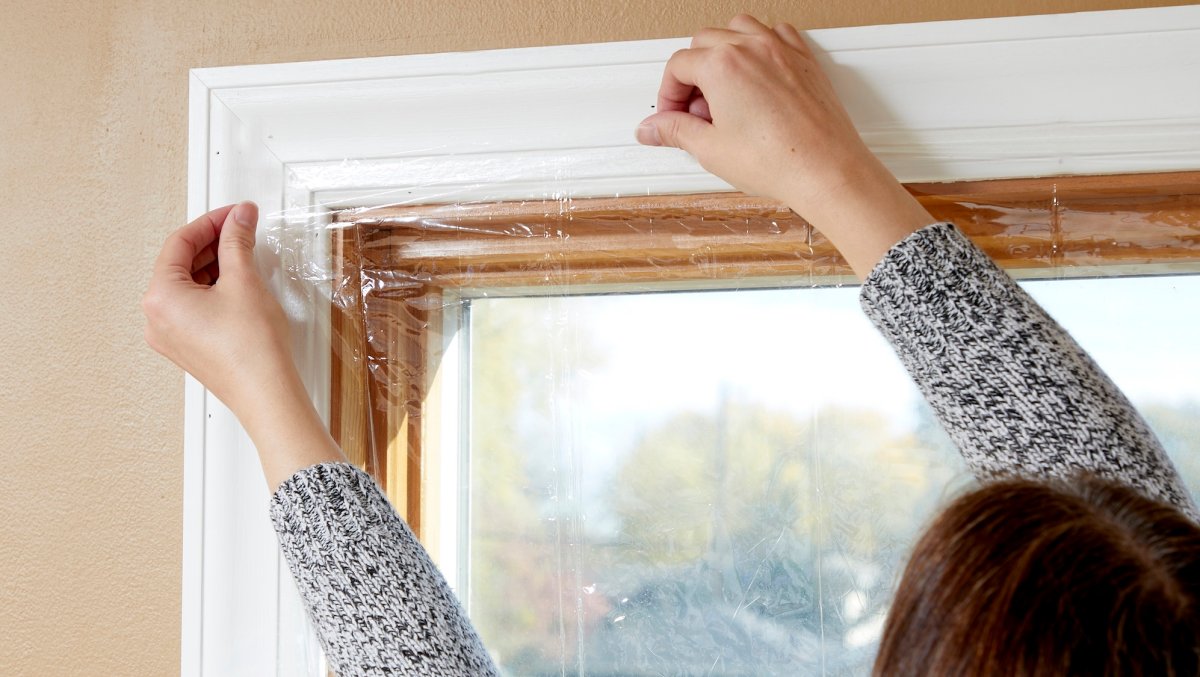
- Heat-Shrink Kits: These involve a plastic membrane taped to the window trim and shrunk tight with a hairdryer. While less aesthetically pleasing and obstructive to window operation, they create an insulating dead-air space that is highly effective for attic or basement windows.
Soft Infrastructure: Thermal Drapery and Aesthetic Insulation
The final layer of a comprehensive insulation strategy involves the use of thermal curtains. Unlike standard decorative drapes, thermal curtains feature a multi-layered construction, often including a high-density foam layer or a reflective vapor barrier.
Optimizing Heat Retention
To maximize the effectiveness of thermal curtains, they must be installed correctly. The curtain rod should extend beyond the window frame on both sides, and the fabric should ideally touch the floor or the windowsill to prevent "convection loops." A convection loop occurs when warm air hits the cold glass, cools, and drops to the floor, pulling more warm air from the ceiling into the space behind the curtain. By sealing the edges of the curtain to the wall using magnetic tape or Velcro, homeowners can reduce heat loss by an additional 10 to 17 percent.
Chronology of a Window Insulation Project: A Weekend Timeline
A comprehensive insulation overhaul can typically be completed over a single weekend:
- Friday Evening: Assessment and Procurement. Inspect all windows for drafts using a smoke pen or an infrared thermometer. Purchase all necessary caulk, weatherstripping, and film.
- Saturday Morning: Exterior Work. Remove old caulk and clean the exterior frames. Apply new sealant while temperatures are at their daily peak.
- Saturday Afternoon: Interior Preparation. Remove old weatherstripping and clean the sashes. Apply new gaskets and seals.
- Sunday Morning: Glass Treatment. Apply window insulation film to the panes, ensuring a dust-free environment for maximum clarity.
- Sunday Afternoon: Final Touches. Install or adjust thermal curtains and perform a final check for air leaks.
Economic and Environmental Implications
The move toward better window insulation is not merely a matter of personal comfort; it is a critical component of broader environmental and economic goals. On a macro level, residential energy consumption accounts for roughly 20 percent of total greenhouse gas emissions in the United States. By reducing the demand for space heating through better insulation, the aggregate reduction in carbon footprints is substantial.

Financially, the return on investment (ROI) for window insulation is among the highest for home improvement projects. While a full window replacement can cost tens of thousands of dollars with a payback period often exceeding 20 years, DIY insulation methods—such as caulking and weatherstripping—often pay for themselves within a single heating season. Expert analysis suggests that a well-insulated home can save between $150 and $500 annually on energy bills, depending on the climate zone and local utility rates.
Conclusion and Professional Recommendations
In instances where windows are structurally compromised, exhibiting wood rot, or suffering from "blown seals" (evidenced by fogging between double panes), DIY insulation may only serve as a temporary measure. In such cases, consulting with a window replacement professional is advised to explore high-efficiency, triple-pane, or gas-filled units.
However, for the vast majority of homeowners, the systematic application of exterior caulk, interior weatherstripping, thermal film, and heavy drapery represents a formidable defense against the winter cold. By following these evidence-based practices, residents can ensure a warmer, more sustainable, and more cost-efficient living environment throughout the winter months and beyond.